The Trolltunga Hike, Norway: Trail Details from My Experience

The Trolltunga hike is no walk in the park. Sure, the actual rock looks really cool online, but the way there can only be described as one of Norway’s most challenging treks.
Whether or not you know this already, before you go and hike to Trolltunga, you’re going to want some tips, maps, and trail details from someone who’s completed the hike before. Well, I’m the guy you’re looking for!
1. Key Trolltunga round-trip hike statistics
- Distance: 25.7 km (16 mi), out-and-back
- Elevation gain: 1,221 m (4,006 ft)
- Difficulty: Hard
- Hiking time: 8–9 hours
- Trailhead: Google Maps link to trailhead
2. Trolltunga hiking trail map
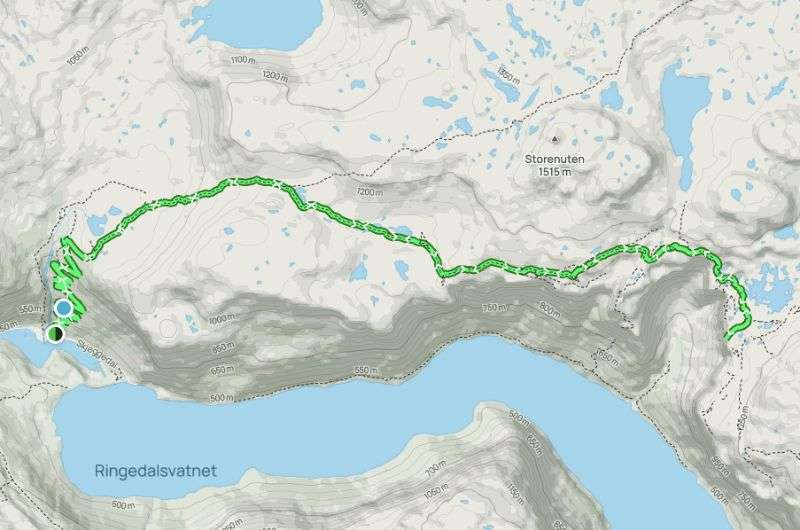
See the Trolltunga hike map in more detail on Alltrails
3. An overview of the Trolltunga hike
- What is Trolltunga: A narrow cliff platform 700 m (2,297 ft) above Ringedalsvatnet Lake in southern Norway that offers jaw-dropping, "edge of the world" views.
- Difficulty: A challenging hike, ranging from 7 to 14 hours round-trip, depending on your starting point (P1, P2, or P3 parking lots).
- Who should hike Trolltunga: Best for experienced hikers in good physical shape; expect steep climbs and mental endurance challenges.
- Expectations: Beautiful scenery, epic views, and probably some jelly legs by the end of the day!
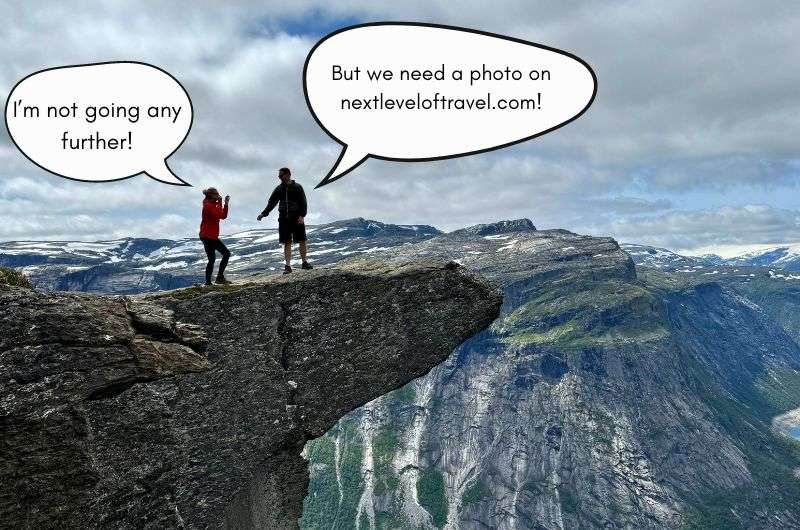
If you’ve never seen any pictures of Trolltunga, it’s essentially a narrow cliff platform perched 700 m (2,297 ft) above the beautifully blue Ringedalsvatnet Lake in the south of Norway. If you’ve ever wanted to feel like you’re standing on the edge of the world, the Trolltunga hike is your ticket.
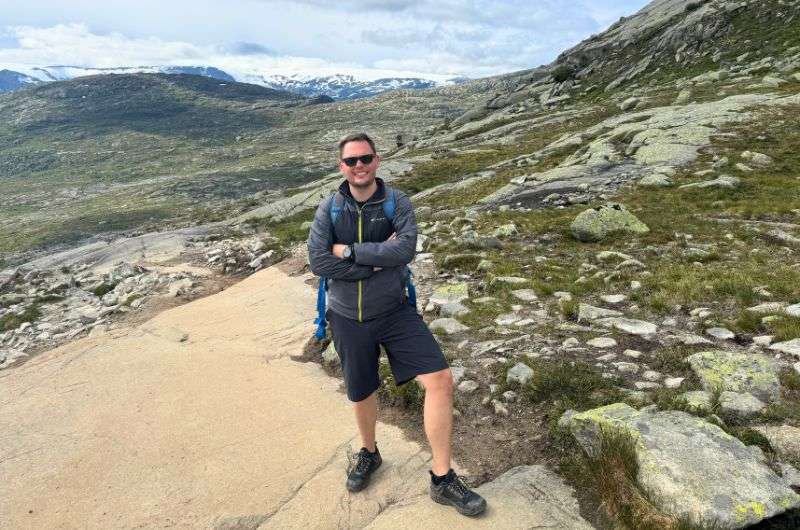
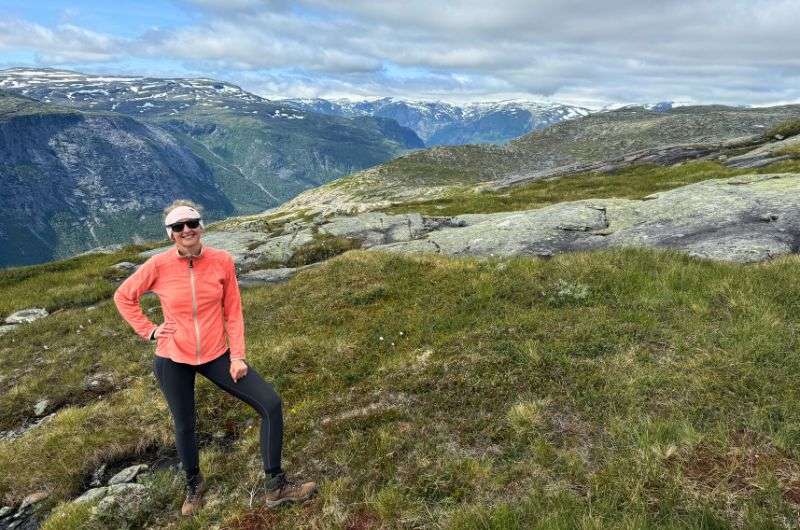
You need to be in a good shape to hike Trolltunga
It draws adventurers from all over the world to conquer the steep climbs and navigate the rocky paths, to be rewarded ultimately by the breathtaking views.
My girlfriend and I were two such adventurers. We’ve had our fair share of hikes—we've even hiked in the mighty Andes—and hiking Trolltunga was still a long, tough day for us. Depending on which of the three parking lots you start at, you’re looking at a trek that can take anywhere from 7 to 14 hours (round-trip).
Fun fact: Trolltunga means “troll tongue”. As the legend goes, the rock got its name from a cocky troll that believed he was immune from the sun’s power to turn things into stone. The troll waited for the sun to appear and stuck his tongue out to mock it. Lesson learned, kids—don’t mess with the sun!

Norway’s nature, views, and hellish hikes!
4. What makes hiking to Trolltunga such a must-do? You’re conquering nature!
This hike offers everything from forested trails and rocky plateaus to jaw-dropping views of clear lakes. And, of course, there’s the destination: Trolltunga itself. Here, you can walk (or crawl, if you’re not so good with heights) out onto the ledge and feel like you’ve conquered nature.
And I mean, to put it bluntly: this is an adventure with unbeatable bragging rights. Sure, you could visit the Norwegian fjords on a cruise without breaking a sweat, but where’s the fun in that?
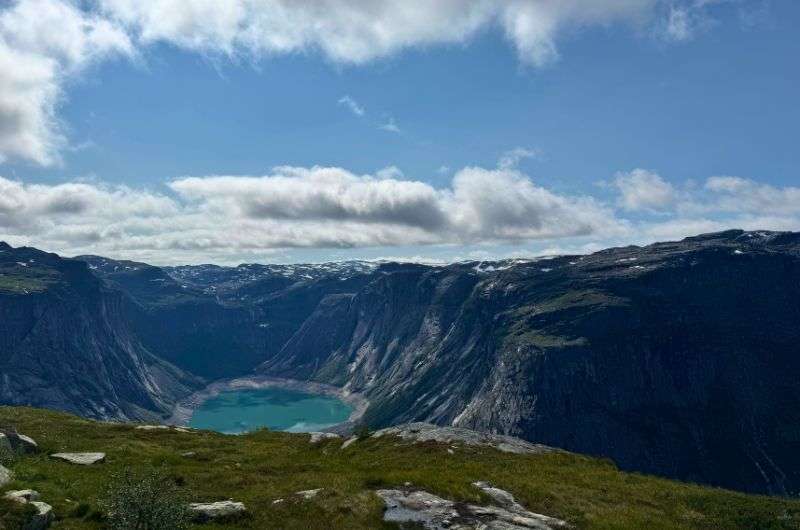
One of the jaw-dropping views on the Trolltunga hike
Ultimately, at some point along the path, you will stop wondering when you’re going to die and start wondering why you’re doing it in the first place. Maybe it was for the Instagram snap, or maybe it was to prove something to yourself. Either way, the Trolltunga hike will humble you.
But here’s the thing: it’s not technically difficult, just relentless. It’s less about skill and more about stamina. As long as you keep putting one foot in front of the other, you will get through it.
If you don’t think you’re up for this particular challenge, or if you’ve already done Trolltunga and are hungry for more Norwegian hike tips, go ahead and check out my other article on the best hikes in Norway:
This hike will give you a hard time, but what you will see during it is priceless
5. Where to stay to hike to Trolltunga
The closest settlements to the Trolltunga trailhead are Odda (a 20-minute drive away) and Tyssedal (a 15-minute drive away). It’s best to base yourself in one of these cute villages, and as you might expect, they’re very used to tourists.
These are my hotel recommendations:
- The imaginatively-named Trolltunga Hotel in Odda is bright and modern, and
- the even more imaginatively-named Tyssedal Hotel in Tyssedal has solid reviews for a three-star hotel.
6. How to get to the Trolltunga trailhead
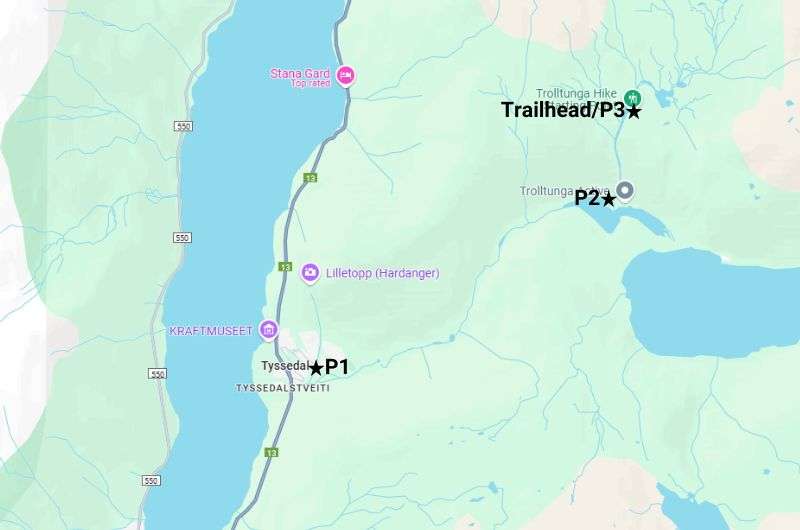
- Parking options:
- P1: Farthest, located in Tyssedal.
- P2: 7 km closer, still a significant distance from the trailhead.
- P3: Right at the trailhead, limited spaces (reservation required, higher cost).
- Shuttle service: Available from P1 and P2 to the trailhead—highly recommended unless you want an intense pre-hike workout.
- Parking prices: P2 (where we were) costs NOK 500 (USD 46.50) for a one-day permit.
There are three Trolltunga parking lots. “P1” is the furthest from the trailhead as it’s actually in Tyssedal, “P2” is around 7 km (4.3 mi) closer, and “P3”, the upper parking lot, is at the trailhead itself. You can catch a shuttle bus from P1 or P2 to the trailhead, if you want.
I’ll give you a pointer: yes, you do want. We parked at P2 and thought we were tough enough to take on the hour-long hike, gaining some 800 meters in elevation, up to the actual starting point.
(Narrator: “They were not tough enough, and in fact, wore themselves out unnecessarily.”)
The Trolltunga hike
Even prior to that, parking up was a whole adventure of its own. We turned up at 8:15 am, bright and early, and were ultimately lucky to grab the last space. We got in for a cool NOK 500 (USD 46.50) for a one-day permit, because why not pay a small fortune to suffer?
If you want to park at P3, take note of these three things:
- There are only 30 parking spots in P3.
- If you plan to hike Trolltunga between June and September, you need to reserve a parking spot in P3 two months in advance via this website. In every other month, you just need to turn up and hope for the best.
- The price to reserve a parking spot in P3 starts at NOK 600 (USD 54.73).
You can find all the parking permit details at all the parking lots on the official Trolltunga website.
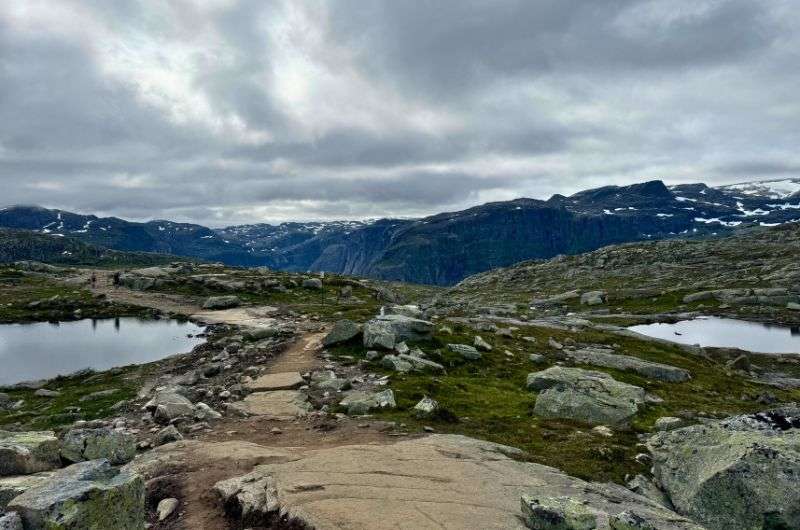
7. Beginning the Trolltunga hike: Warming up those calves
Section 1 of the Trolltunga hike: pros and cons...
- Pros: Amazing views of the valleys and water below; almost impossible to get lost
- Cons: SO steep; your legs are on fire
Let’s get one thing straight—the first third of the Trolltunga hike isn’t here to make friends. If you thought you'd start with a leisurely stroll, think again. Right from the get-go, it’s all about uphill. But hey, you signed up for this—it’d be very silly to turn back now (especially as you’ve just dropped several hundred kroner on a parking permit).
Once you start, the trail wastes no time in introducing you to its favorite game: the steep climb. The first 2.5 km (1.5 mi) were all about burning our calves up as we ascended from around 400 m (1,312 ft) to a cozy 720 m (2,362 ft). Easy, right? Nope, not even a little bit.
But the scenery gave us plenty of excuses to stop. You know, to “admire the view” (read: pretend it was actually the surroundings that were taking our breath away). And to be fair, what a view it is. The weather was clear, and we got some stunning glimpses of the valleys and lake below, making us almost forget the fact that our legs were on fire. Almost.
You can’t really get lost on this trail because it’s well signposted
There’s next to no chance of getting lost
The trail here is rocky and uneven in parts, but nothing unmanageable. Plus, it’s well-marked and straightforward. There's little chance of getting lost—unless you’re one of those rare people who somehow get lost following a signposted path... with lots of other people on it.
As we trudged our way up the steepest part of the hike, I started to wonder whether the elevation would ever end. Spoiler: it doesn’t. But at least this section didn’t drag on forever. Eventually, the terrain leveled out a bit, and I could ease into something resembling my normal hiking pace.
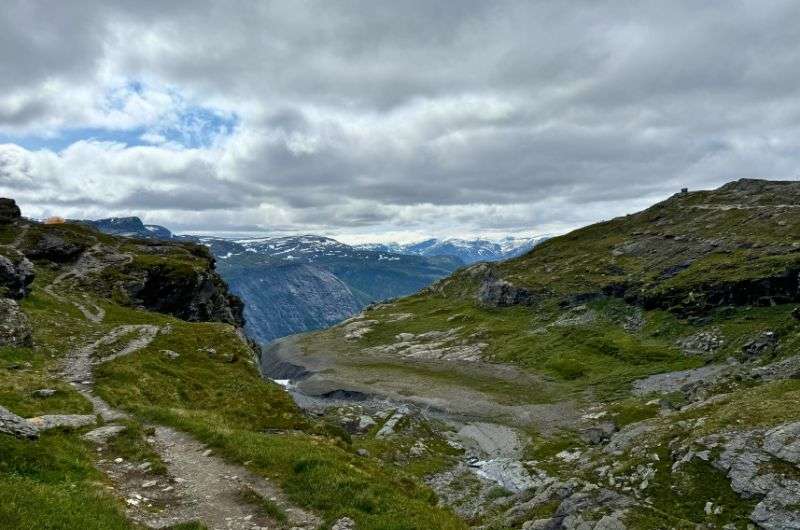
This is where the trail starts to open up, and you get a better sense of the vast, rugged landscape you’re hiking through. It’s Norway in all its glory—mountainous, dramatic, and full of fjords.
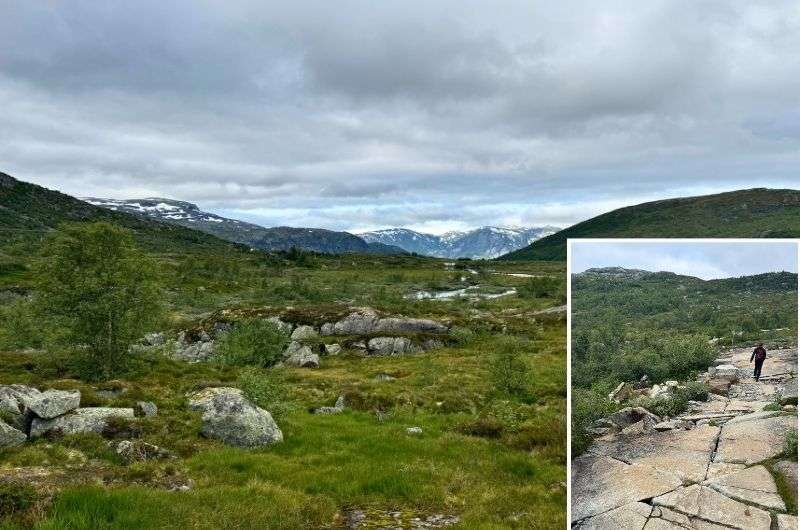
8. The middle of the Trolltunga hike: A plateau party (with rocks)
Section 2 of the Trolltunga hike: pros and cons...
- Pros: A break for the legs and the lungs; more (but different) amazing views that stretch for miles
- Cons: Lots of jagged rocks; you feel so near and yet so far
Congratulations on surviving the brutality of the initial uphill stretch! But don’t break out the champagne just yet; there’s still plenty of ground to cover before you reach the troll’s tongue.
The middle of the Trolltunga hike is where things sort of mellow out. By that, I mean it’s a lot less steep, but don’t think for a second that you’re in for an easy stroll. No, no—Norway has other devilish plans for you.
Now, we’d moved on to the plateau. It’s flatter, sure, but at this point, we had to deal with plenty of uneven terrain... and rocks. So many rocks—big ones, small ones, jagged ones, you name it. This part of the hike is like an obstacle course, where you’ll find yourself hopping, dodging, and tiptoeing your way around. On the plus side, your lungs do get a bit of a break.
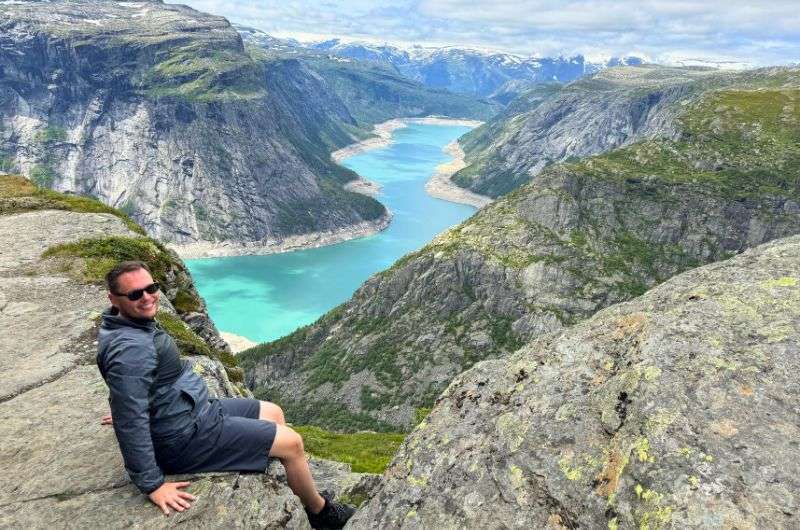
The views were amazing, but we still couldn't wait to finally see the famous cliff
I was absolutely stunned by the view here— just a scenic plateau that goes on for days and days. It made me stop mid-step and think, “Ok, this was worth the burning calf pain.” Well, at least until I tripped over yet another rock.
At this point, the hike starts to get to you, mentally
But if I’m being real, it’s the middle of the hike when the novelty of hopping over boulders wears off, the monotony sets in, and the mental game starts. There was a point in this section of the hike when I started to zone out—a strange, middle-ground feeling of having done a lot and yet still having so much further to go.
I kept thinking, “Okay, where’s the famous cliff? Is it around the next corner? Oh, no, just more rocks.” What looked like a short stretch ahead somehow turned into another hour of walking. After a while, it was all just a bit weird.
Tip: At this point, you’ll definitely want to pace yourself. My advice? Take snack breaks. I can’t overstate how much a handful of trail mix can improve your outlook when you’re halfway across a rocky plateau.
Don’t forget on a snack break!
Would I camp here? Actually, yeah! For the first time ever, I actually considered camping. I imagine that breaking up the hike would have made it a lot easier, both physically and mentally. Plus, if I’d already been up there at stupid o’clock in the morning, I’d have had the chance to take my photos without the crowds being there.
Despite all the other people, though, the remoteness is also something that makes this middle section of the hike feel special. We were truly in the Norwegian wilderness, and I felt at peace to be far away from everything (except my sore feet, of course).
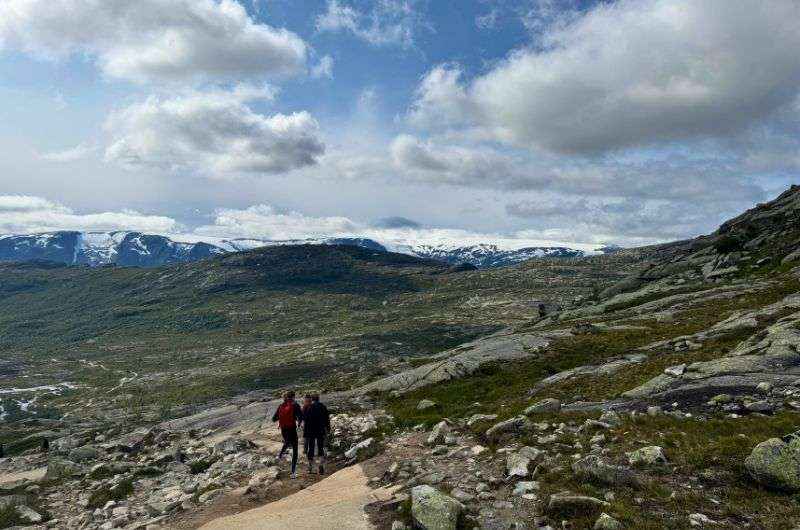
9. The final stretch of the Trolltunga hike: Reaching the tongue
We couldn't feel our legs, but we definitely felt a sense of victory from conquering the Trolltunga hike
Section 3 of the Trolltunga hike: pros and cons...
- Pros: The easiest section, physically; the grand climax of reaching the cliff
- Cons: The hike trolls you, making you think you’ve reached the cliff when you haven’t; the massive line to take a photo
By this point, we’d been hiking for around 3 hours. I was exhausted, but also buzzing with anticipation. After the relentless sharp incline and never-ending rocky plateau, we were finally on the home stretch. Well, sort of.
I call this part of the hike the “Trolltunga tease” because the cliff was straight-up edging me. You know you're getting close, but the trail has a cheeky way of making you feel like the finish line is just around the corner, when it isn’t. (Is this the real reason they call it Trolltunga..?)
The end is maybe another hour away from this point, but at least now there's a sense of momentum. And the terrain here is pretty manageable, thankfully. There are still some rocky sections and a few more ups and downs, but nothing like the brutal climb and geological assault course in the first stages.
Keep going—you’re so nearly there!
Now, it’s more about staying focused and resisting the urge to collapse into a heap on the trail. Trust me, the view waiting for you is worth pushing through.
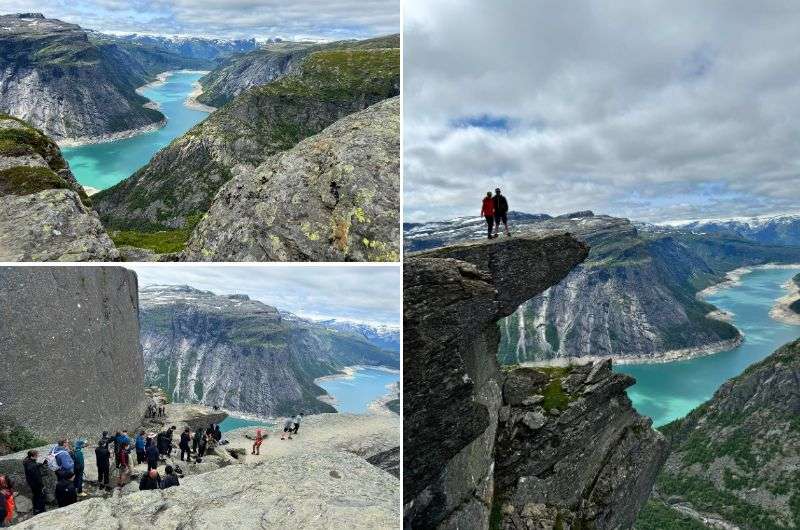
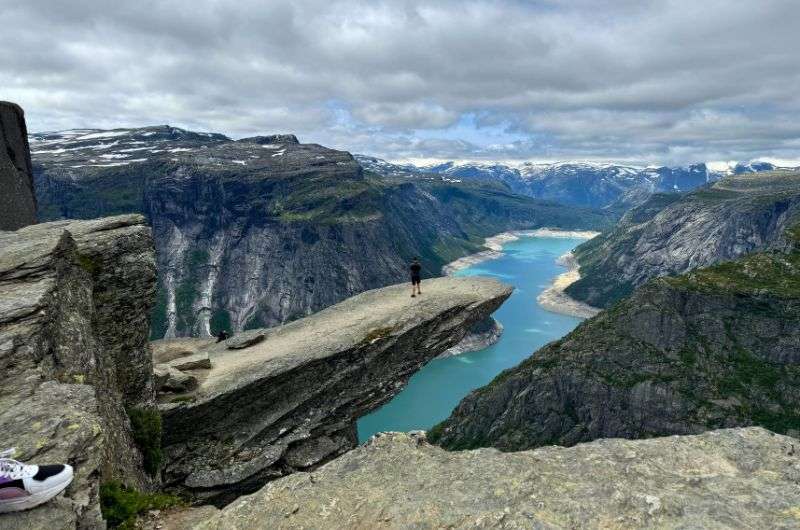
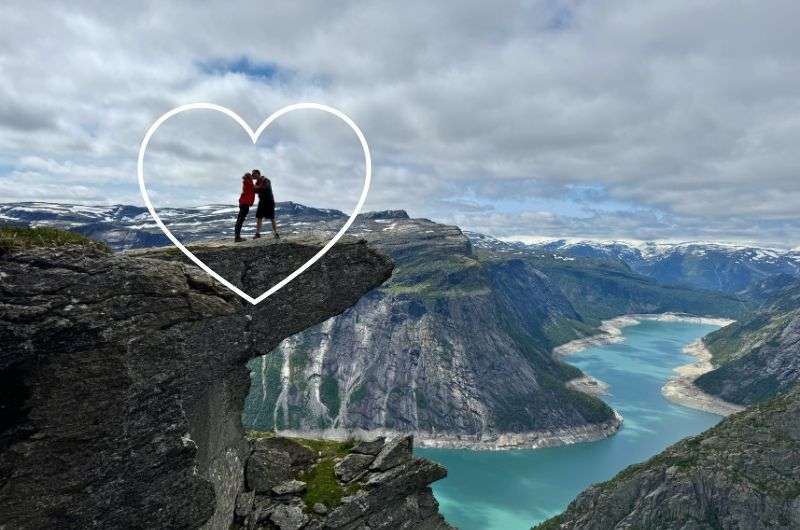
And then, after what feels like an eternity of false climaxes, you see it—the troll tongue. It juts out over the lake below just as it does in the photos, like nature’s own diving board. (Disclaimer, just in case you’re that dumb: it’s definitely not a diving board.)
Finally!!!
While you do get this overwhelming feeling of relief for having made it to the top, you also get a reality check. There’s still a crowd, perhaps the biggest one you’ve come across yet on this hike. And if you want that iconic solo photo on the tip of the tongue, you're going to have to get in a long line for it.
Pro Tip: Start your hike as early as possible, or better yet, do it over two days. We began our single-day ascent at around 8:30 am, and even then, there was a 30-minute line just to get a photo at the end. Despite my deep hatred for lining up, this time, it was absolutely worth it.
And then, after the once-in-a-lifetime photo-op and the amazing views, comes yet another realization: you still have to do the return hike. And let me clarify: it takes pretty much the same amount of time as it did to get all the way up. But hey, at least it’s downhill (mostly).
Once you’ve conquered Trolltunga, you’ll certainly be able to take on more epic Norwegian hikes! Have a look at my other article for more inspiration:
It may take a little coaxing and bravery to get the photo. But make sure you take it!
Final thoughts
Okay, so hiking to Trolltunga is not for the faint of heart—you need to be in good shape and have decent mental stamina. It’s all about endurance, but also amazing scenery with just a dash of other-worldly madness. Yes, there’s a solid chance you’ll end the day with jelly legs, but a massive consolation is that you’ll have completed one of the most iconic hikes that Norway has to offer!
FAQ 1: How difficult is the Trolltunga hike?
Trolltunga is a hard hike and it’s best suited for experienced long-distance hikers. If this isn’t you, then you need to be in great physical shape, at least. Many people are so focused on getting that perfect photo at the top that they underestimate the length and elevation of the hike, so don’t take it lightly!
FAQ 2: How far is the Trolltunga round-trip hike?
How far the Trolltunga hike depends on which parking lot you begin from.
- If you park at P1, the route is 36.5 km (22.7 mi) long, out-and-back.
- If you park at P2, the route is 25.7 km (16 mi) long, out-and-back.
- If you park at P3 the route is 20 km (12.4 mi) long, out-and-back. Note that there are only 30 spaces here and you have to pre-book, so good luck!
Remember, there are shuttle buses from P1 or P2 to P3, the upper parking lot, where the trailhead is.
Trolltunga
FAQ 3: How long does hiking Trolltunga take?
Typically, the Trolltunga hike takes around 8 to 12 hours (round trip), depending on where you start and how many breaks you take for rest and meals.
FAQ 4: Can you do Trolltunga in one day?
Yes, you can hike Trolltunga in one day, but it’s a long day. I did it in one day and managed, but some people opt to do it over two or even three days and camp along the trail.
FAQ 5: How high is the drop below Trolltunga?
The actual “troll’s tongue” of Trolltunga is 700 m (2,297 ft) above Ringedalsvatnet lake, and about 1,100 m (3,609 ft) above sea level.
FAQ 6: Which has a higher drop: Trolltunga or Preikestolen?
While the drop below Trolltunga is 700 m, Preikestolen’s drop is “only” 600 m (1,969 ft) above Lysefjord. If you’re wondering which of the two is better to visit, my article on Preikestolen might help you decide:
FAQ 7: Is it safe to visit Trolltunga without a guide?
It is safe to hike Trolltunga without a guide in the summer and if, again, you are an experienced climber or at least very physically fit. It’s highly recommended that less confident hikers go with a guide.
We did it!
FAQ 8: When is the best time to hike to Trolltunga?
In short—and it may seem obvious—the summer. The best time to hike Trolltunga is between June and August, when the days are long and the weather is more likely to be pleasant. From October to May, it’s prohibited to attempt the hike alone because of how dangerous it can be in wintry conditions.
PSA: Always check the weather forecast in advance, no matter what time of year it is. Occasionally, it’s even snows in June, and it’s not safe to hike Trolltunga when it's snowy or icy.
FAQ 9: Has anyone ever fallen from Trolltunga?
There’s only been one recorded person to have fallen to their death from Trolltunga: an Australian exchange student, in 2015.
You might also be interested in reading:
- The Best 1-Week Norway Road Trip
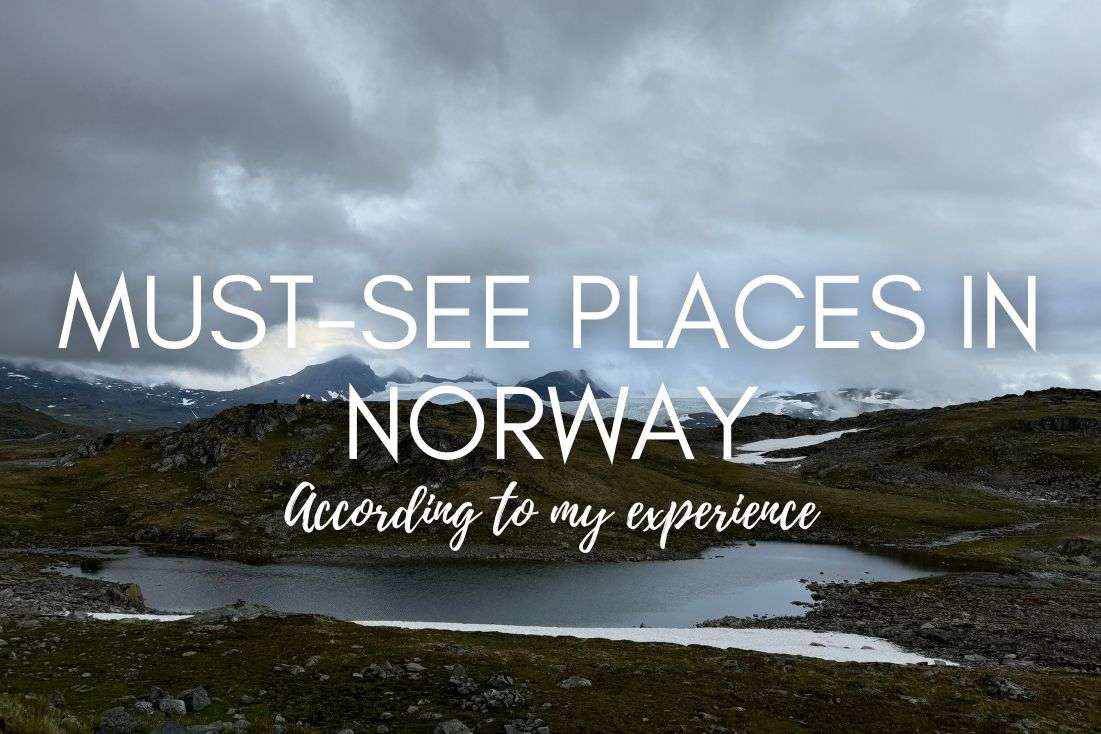
- 11 Must-See Places in Norway
- 7 Epic Norwegian Fjords + Activities
- Hiking Pulpit Rock: My Experience
- The Best Time to Visit Norway
This post contains affiliate links. I earn a small commission if you make bookings through my links, at no additional cost to you. This helps keep this blog free, thank you!


Comments | Thoughts? Give us a shout!