The Kjerag Hike and Kjeragbolten: The Mother of Steep Climbs

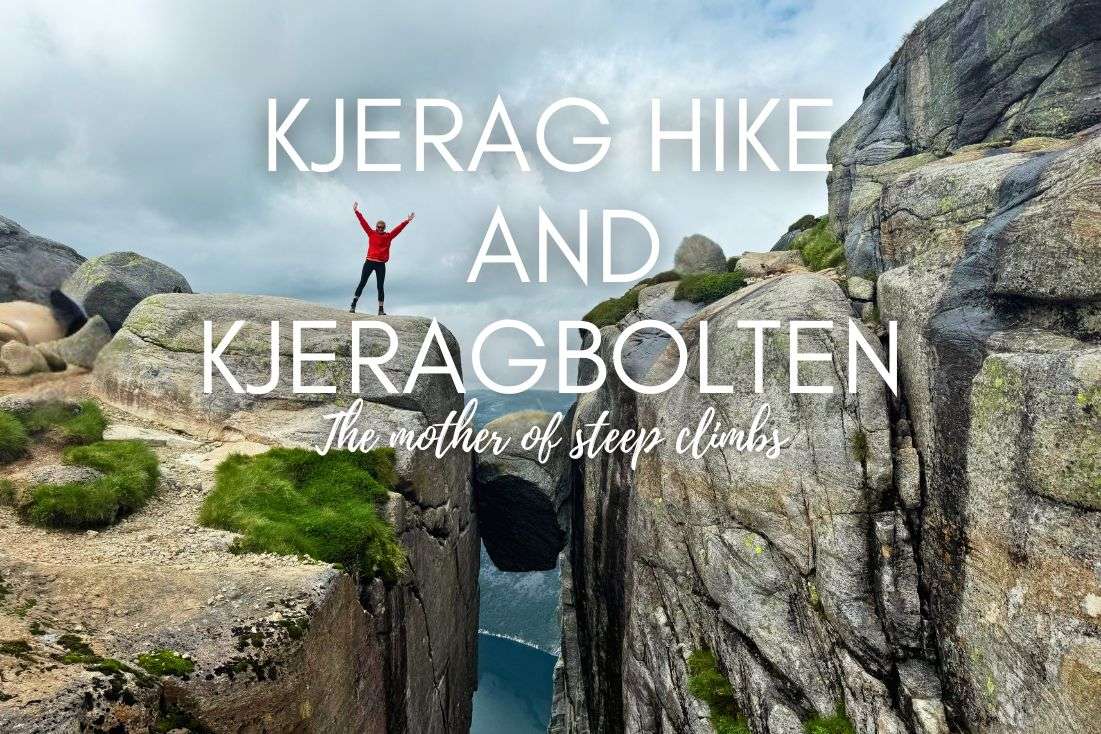
Looking for an extremely steep hike in southern Norway with one of nature’s own gimmicks at the end of it? Stop right here—the Kjerag and Kjeragbolten hike is for you!
Fun fact: Kjerag is the highest mountain to surround Lysefjord in Norway, towering at 1,100 m (3,608 ft). But the real star of the show is the nearby Kjeragbolten—the large, world-famous boulder wedged between two cliffs, luring thrill-seekers to step onto it.
The adrenaline and the stunning fjord views come as a package deal on this hike, offering an experience both challenging and beautiful. Take it from my own account in this article: although your calves will burn, you'll have awful blisters from your hiking shoes, and you’ll fear for your life at times, the Kjerag hike is an experience you won’t forget.
Read on to learn not just about my own experience, but key Kjerag hike statistics, where to stay near Kjerag, plus other crucial tips and answers to FAQs about this mother of steep climbs!
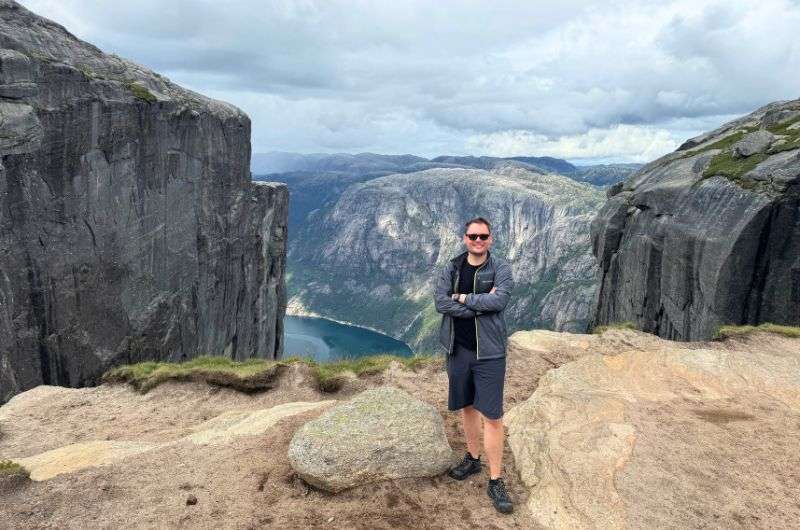
Kjerag hike will definitely get your calves on fire
You may also be interested in my article rating other hikes in Norway.
1. The Kjerag and Kjeragbolten hike: key statistics
Distance: 9.3 km (5.8 mi), out-and-back
Elevation gain: 583 m (1,913 ft)
Difficulty: Hard
Hiking time: 6 hours
Trailhead: Google Maps link to trailhead
Sometimes, all you need to do is take the first step... I've filtered out the best hotels around Kjerag and Kjeragbolten hike for you
Save it for yourself to come back to later, or share with your friends on social media!
2. The Kjerag and Kjeragbolten hike: route map
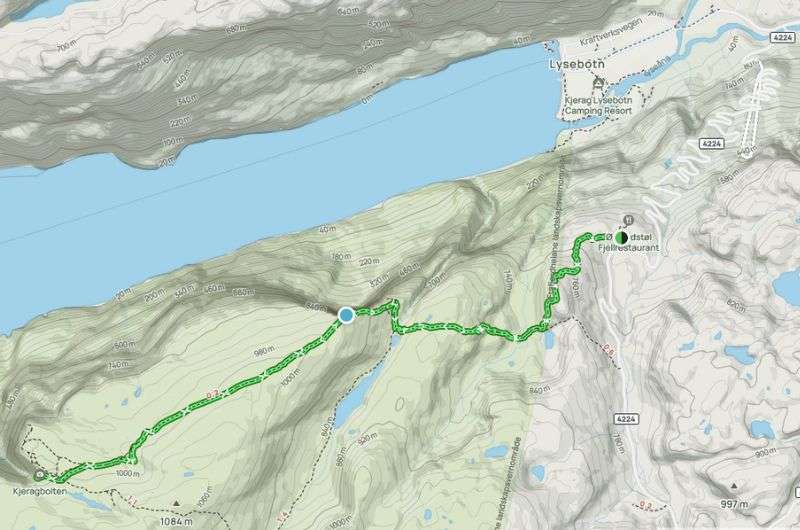
See the route in more detail on Alltrails
3. Where to stay to hike to Kjerag—Stavanger
Stavanger is the nearest proper city to the Kjerag trailhead, around 140 km (87 mi) away. As long as the hike to Kjerag isn’t the sole thing you’re going to do in the area, I definitely recommend using Stavanger as a base.
Did you know there’s another very famous (and very amazing) hike you can do around Lysefjord? Introducing the mighty Pulpit Rock:

My hotel recommendation in Stavanger
Ydalir Hotel is a great choice of place to stay in Stavanger. I found it really modern and comfortable, the rooms are of a decent size, and they offer free parking. It’s located to the southwest of the city center next to Stavanger University’s campus.
Bonus fact: This place is actually a non-profit hotel, with all of its earnings going to the university. I thought that was pretty cool!
Take your time when choosing a hotel. After this you'll need a proper rest
The only downside? The breakfast. Okay, to be fair, it’s not that the quality of the food was bad; I just thought that that the variety was somewhat limited. But hey, grab a croissant and power through because the main event awaits!
4. How to get to the Kjerag and Kjeragbolten trailhead—Lysevegen
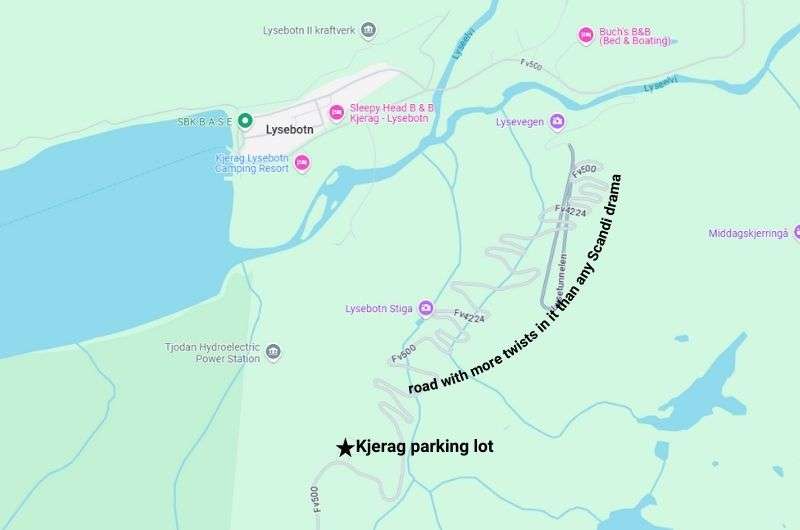
Kjerag parking lot is where the hike starts. From mid-May to the end of October, you can drive up the mountain to the parking lot by the trailhead, as Lysevegen is open.
Lysevegen is a wacky, winding road. It consists of no fewer than 27 sharp bends and ascends several hundred meters, leading to the parking lot. Just a heads up—you might feel dizzy before you even get out of the car.
Pro tip: To get to Lysevegen, instead of taking a mountain drive, you could take it easy with a gentle cruise across Lysefjord. There are car ferries operating from Lauvvik, Forsand, and Songesand to Lysebotn, where the road begins. You need to book ferry tickets in advance on Lisefjorden365.com.
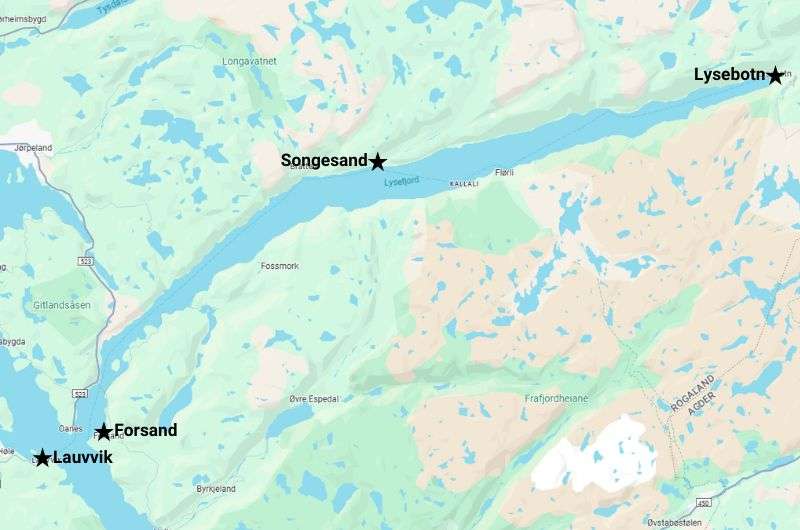
Map of Lysefjord, pinpointing all car ferry terminals
Once you reach the parking lot, it’ll cost you NOK 300 (USD 28) to leave your car there for two hours or longer. Oh, and you’re not allowed to stay in your car overnight. (But why would you when you’ve got a nice, comfy hotel bed?)
Google Maps link to Kjerag parking lot, the Kjerag trailhead
DON’T hike to Kjerag in winter—it’s not worth the hassle
From the beginning of November to mid-May, Lysevegen is closed because of the harsh weather conditions. Yep, this means you can’t get to the Kjerag parking lot, or therefore the trailhead. And no, this doesn’t mean you should try to wind up the road on foot.
Make no mistake: Kjerag is a seasonal hike. It’s accessible outside of this season only to expeditionists with special equipment (read: crampons, an ice axe, and skis or snowshoes—not just hiking boots) and a tour guide. Now, I don’t understand whether this means you have to be invited or special for some other reason, but even if not, just go in summer. Make your life easier.
5. Kjerag and Kjeragbolten: trail stages in a nutshell
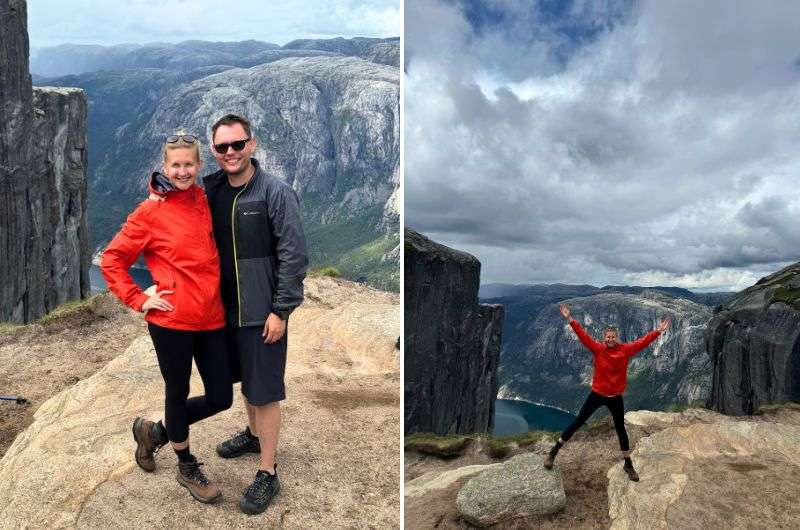
Roughly 70,000 lunatics attempt to hike Kjerag and Kjeragbolten and every year, and my girlfriend and I were two of them.
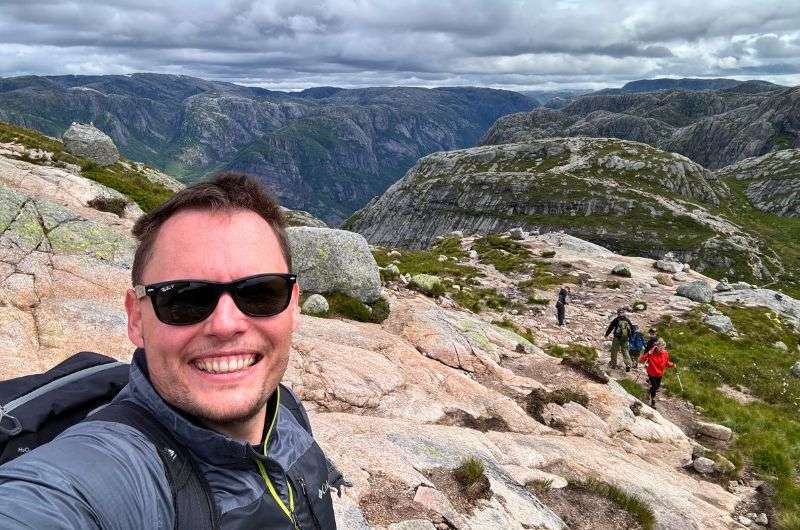
Me, and the other lunatics who decided to go for it
This is what it was like...
- Stage 1: There's no easy start; grab on to the chain ropes and get scaling!
- Stage 2: Expect more steep climbs and spectacular drops.
- Stage 3: Will you be brave enough to step onto Kjeragbolten? (Spoiler: I wasn’t.)
Stage 1: A challenging hike from the get-go
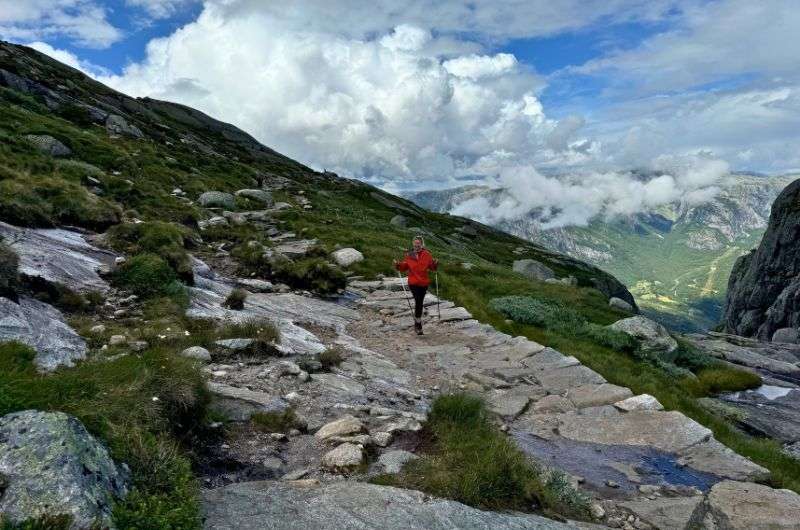
As soon as the hike starts, you’re essentially scaling giant, slippery and steep granite slabs like an overconfident mountain goat. The trail is deceptively steep, and after a few minutes, my calves were already screaming for a break. But there’s no rest for the wicked on this hike!
Your lifelines are chain ropes and warm clothes
From the very first climb, there are chain ropes attached to the rock to help pull yourself up. “How considerate,” I thought, while praying that there’d be no thunderstorm and the chain wouldn’t get me struck by lightning.
(That’s a serious word of warning, by the way: don’t do the Kjerag hike in a storm.)
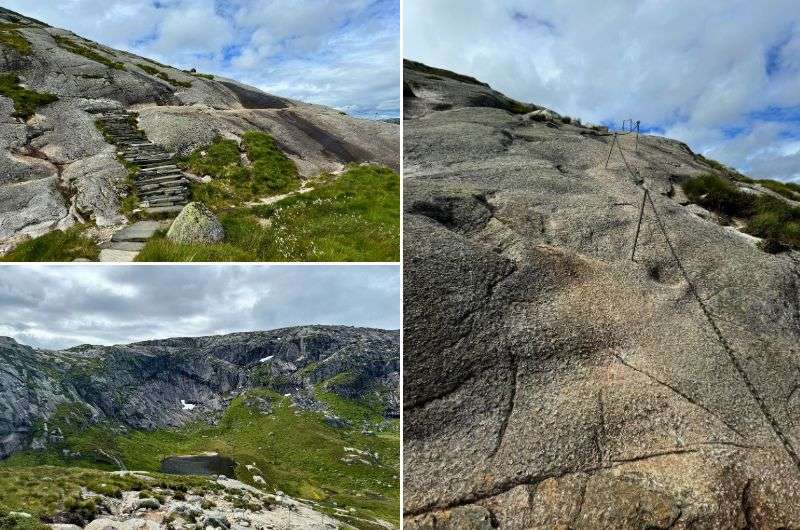
The chain ropes will be your best friends
Tip: You start at 650 m (2,133 ft) above sea level so it’s a bit cooler up here than it is in Stavanger. Dress accordingly in warm layers because the temperature can drop by 10 °C (50 °F). And I might be stating the obvious here, but wear decent hiking shoes!
The first kilometer takes you up to about 850 m (2,788 ft), only to descend back immediately to 750 m (2,460 ft). It’s like the trail is giving you a taste of triumph only to snatch it away again. Ah, the joys of Norwegian hiking.
The views, though? Absolute stunners, even at this early stage. Lysefjord was stretched out below me, begging me to take a one-handed photo (my other hand still clutching the chain for dear life). Yes, the rewards of Kjerag are very apparent even within the first hour of the trek.
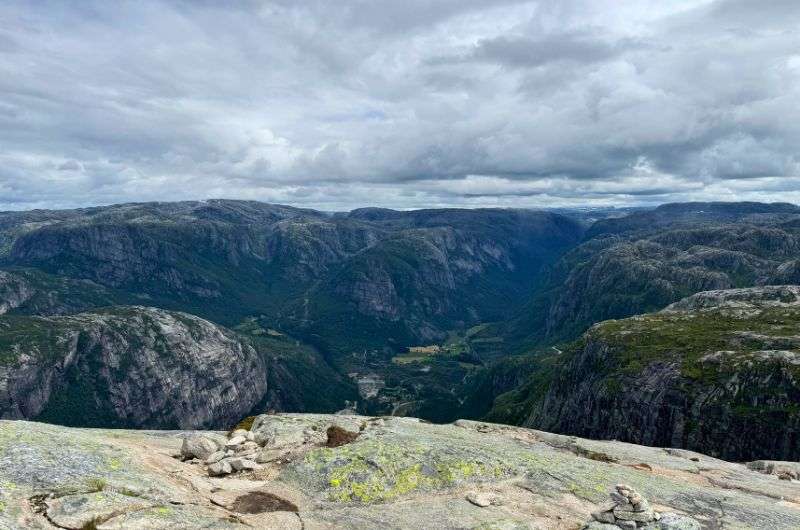
It's starting to get tough with the altitude
Stage 2: Another steep climb
After the first granite rollercoaster, the second section of the Kjerag hike greets you with more uphill battles. We climbed from 750 m to 900 m (2,952 ft) over the next stretch, which doesn’t sound so bad, but it was actually pretty difficult.
The smooth granite underfoot continued, and the chains were still there to save our sorry selves when things got slippery. By now, my calves had gone from burning to full-on numb, so I was either getting used to it or losing feeling in my legs entirely. Either way, progress!
The wind really kicks in up here, so if you thought your balance was decent, the harsh breeze will gladly test that hypothesis. But above all, you remain rewarded with a jaw-dropping, panoramic view of Lysefjord and the other mountains. It’s what kept me going. (Well, that and my sheer stubbornness.)
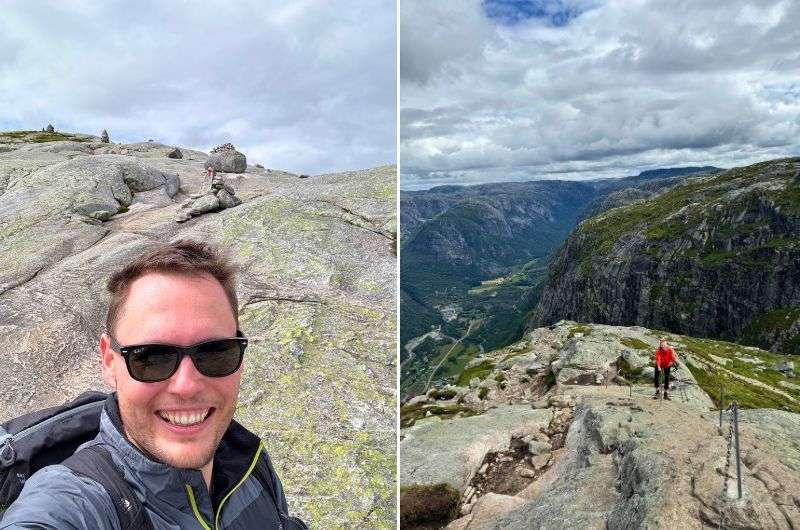
Keep your chin and direction up
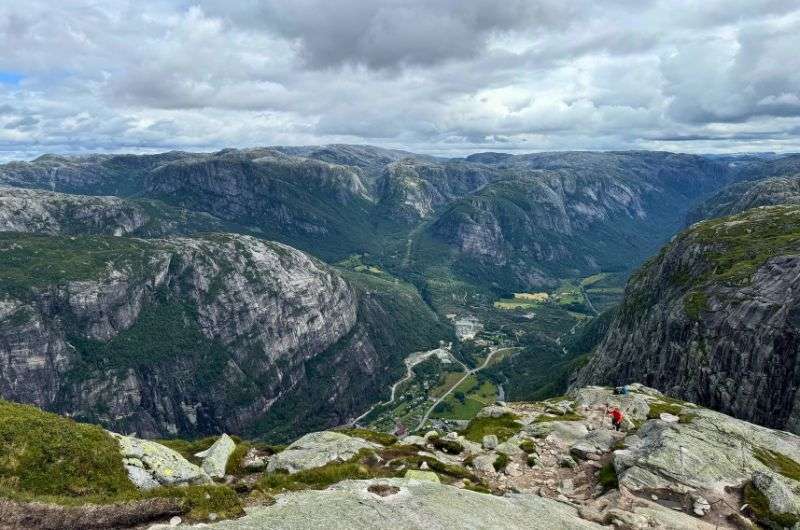
Watch out for the vertigo—you’re quite high up at this point
Look over the ledges if you dare—they’re epic, but not for the faint of heart. If you’re scared of heights, this part of the hike will certainly make you question what the hell you’re doing. I saw more than a few people resort to crawling on all fours, and not just out of exhaustion, but sheer terror. For me, though, it was all part of the fun!
Stage 3: The final climb and Kjeragbolten
The final third of the Kjerag hike is where things get a little more chill, and where the anticipation really starts building. After all that granite scrambling, my worn-out hands and feet reached a flatter stretch. The trail turned into a wavy plateau at this point, and I could finally catch my breath on solid ground.
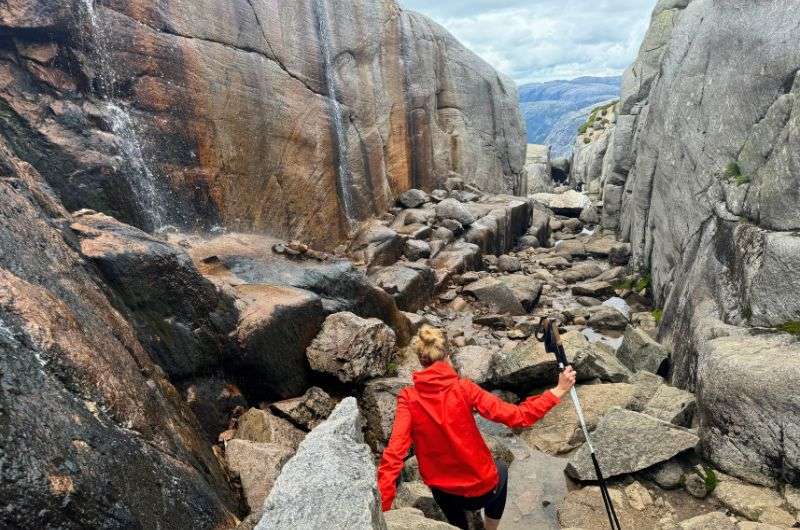
Almost there! Just a few huge rocks to go
With the finish line in sight, we strolled along, our eyes still glued to the fjord which was now almost a kilometer below us. And suddenly, there it was: Kjeragbolten. The famous boulder, wedged between two cliffs above the abyss, that we’d come all this way to see. (Or as I call it, the ultimate Instagram spot for people who have a particular death wish.)
Fun fact: Kjeragbolten has been stuck between these cliffs for over 50,000 years, so it’s been waiting all that time for thrill-seekers to take selfies on it! Personally, I passed on the opportunity as I had plans the following week.
Final thoughts
The Kjerag and Kjeragbolten hike is a real challenge, a proper ride. The steepest parts make it harder than Pulpit Rock, the other famous cliff hike around Lysefjord, which is why it’s statistically less popular. But all in all, I’m proud that I completed it, and very glad and satisfied to have seen Kjeragbolten with my own eyes.
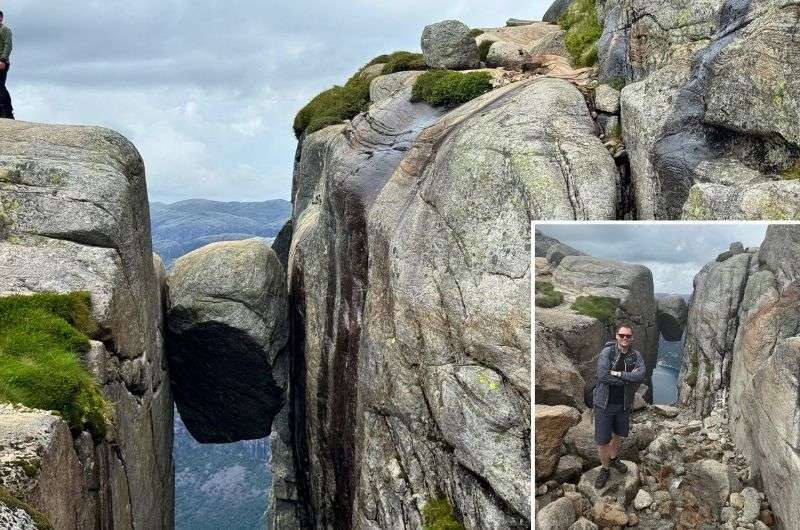
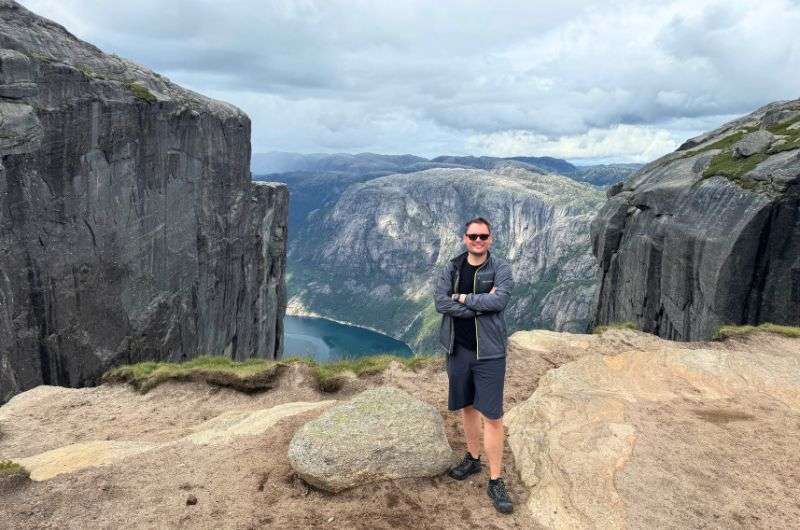
Me and the Kjeragbolten. From a safe distance, obviously
Interestingly, most of the people risking their necks for the perfect photo opportunity seemed to be tourists from Asia. The Europeans? We kept a respectful distance. Maybe we’re just not as badass. (I mean, some of the Asian tourists were braving the hike in flip-flops, for God’s sake.)
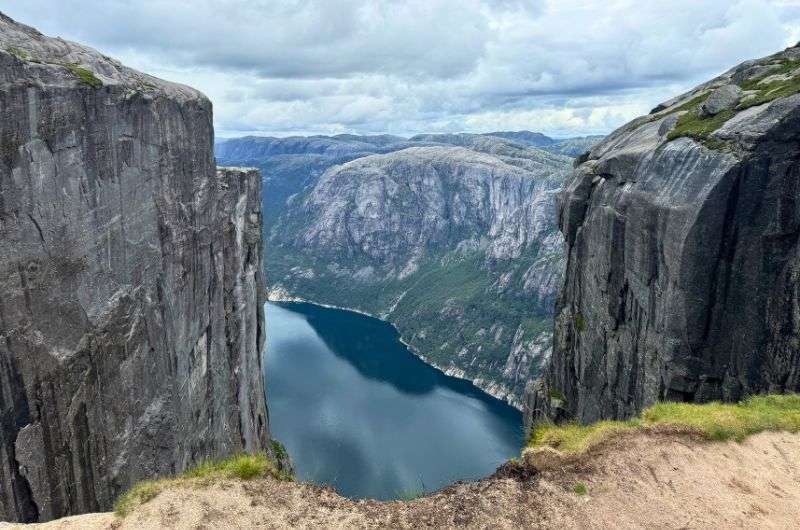
And in my opinion, the views from around the Kjerag boulder are far more impressive anyway than what you must get from standing on it. Especially considering how steep the ravine at the end of the trail is, it’s hands-down one of the most insane drops I’ve ever seen.
Not to scare you even more, but one last thing: It's actually even worse going down Kjerag than going up it. I saw several people falling and sliding. The mountain got me as well—the guy who almost never falls on hikes—and I nearly broke my wrist. Anyway, happy climbing...!
BONUS TIP: Where to eat after your hike to Kjerag
Olivia Torget for Italian food
Olivia Torget (Google Maps link) is a solid choice if Italian food is your thing, and it isn’t too pricy. My personal recommendation: the Risotto Milanese.
Døgnvill Burger for burgers (shocker)
Døgnvill Burger (Google Maps link) is a bright and modern restaurant specializing in quality burgers and reasonably-priced drinks. My personal recommendation: the Blåmandag burger.
On your way back to the hotel, stop in the center of Stavanger for a hearty, well-earned meal.
We tried out these two places. (Not on the same night, though with how hungry we were after the hike, we probably could have eaten twice...) Trust me—either of these options will give you the calories you’ll need after conquering Kjerag and Kjeragbolten.
I know what you’re thinking: neither of these places are authentically Norwegian. But frankly, by the time I’d hiked for six hours, got my adrenaline pumping atop a 1,000 meter-high cliff, and driven over 250 kilometers, I didn’t feel like messing around with cold, pungent herring and a few sad pieces of crisp bread.
After this Kjerag workout, it’ll be time to replenish your protein
FAQ 1: How long does it take to hike Kjerag?
The time it takes to hike Kjerag and Kjeragbolten varies wildly depending on how fit you are, how fast you actually want to be, and how long you spend at the top. I’d advise allowing at least 6 hours to hike Kjerag, although some experienced hikers claim to have completed the trail in 4 hours.
FAQ 2: When’s the best time to hike Kjerag?
It’s important to plan your hike to Kjerag and Kjeragbolten for the summer; between the middle of May and the end of October. Outside of this season, the roads leading to the trailhead are closed due to icy and snowy weather.
The best time is from May to October and remember, the sooner you start the better!
As for the best time of day to begin the hike, the general rule is the earlier the better. Kjerag certainly isn’t a mountain you want to be scaling after the sun goes down, so aim to be on the trail no later than 9 am to make sure you reach the top by midday.
FAQ 3: Which is the harder hike: Kjerag or Trolltunga?
While Kjerag is a shorter hike than Trolltunga, it’s significantly more technical, with several steep climbs and points where you need to scramble. Meanwhile, being a 25.7-kilometer (16-mile) round trip, the hike to Trolltunga will seriously test your endurance.
Which one is harder for you depends on the kind of hiker you are, i.e. what your body is used to. Most will deem Trolltunga to be more difficult simply because of how long it is. Meanwhile, for me, Kjerag was definitely more challenging, mainly because I was too aware of the higher chance of slipping and falling.
Trolltunga is longer but Kjerag is like pretty advanced boulder session. Make your own conclusion
Want to learn more about the hike to Trolltunga? Read my other article:

FAQ 4: Is the Kjerag hike worth it?
Yes, it’s absolutely worth it. It’s a tough and technical hike, but Kjerag rewards you with stunning views over Lysefjord, adrenaline-pumping ledges, and the iconic Kjeragbolten (if you’re daring enough to step onto it). Your legs will be so sore the next day, but the incredible scenery makes it well worth the effort.
FAQ 5: Has anyone ever fallen from Kjeragbolten?
As of 2024, thankfully, there is no record of anyone falling the 984 m (3,228 ft) from Kjeragbolten.
FAQ 6: Can you hike Kjerag and Pulpit Rock in one day?
It’s technically possible, but it would be a huge and extremely idealistic goal to hike both Kjerag and Pulpit Rock in a single day.
I say set aside one day for each hike. Your calves will thank you for the break
Although they’re on opposite sides of the same fjord, driving between the trailheads takes at least a couple of hours, which would leave you little time for both hikes. Adding to this, given the effort that each hike demands, it’s best to tackle them on separate days to get maximum enjoyment out of the experiences.
Sometimes, all you need to do is take the first step... I've filtered out the best hotels around Kjerag and Kjeragbolten hike for you
Save it for yourself to come back to later, or share with your friends on social media!
This post contains affiliate links. I earn a small commission if you make bookings through my links, at no additional cost to you. Thank you for your support!







Comments | Thoughts? Give us a shout!